Setting up a new device to be autoprovisioned
Step 1:
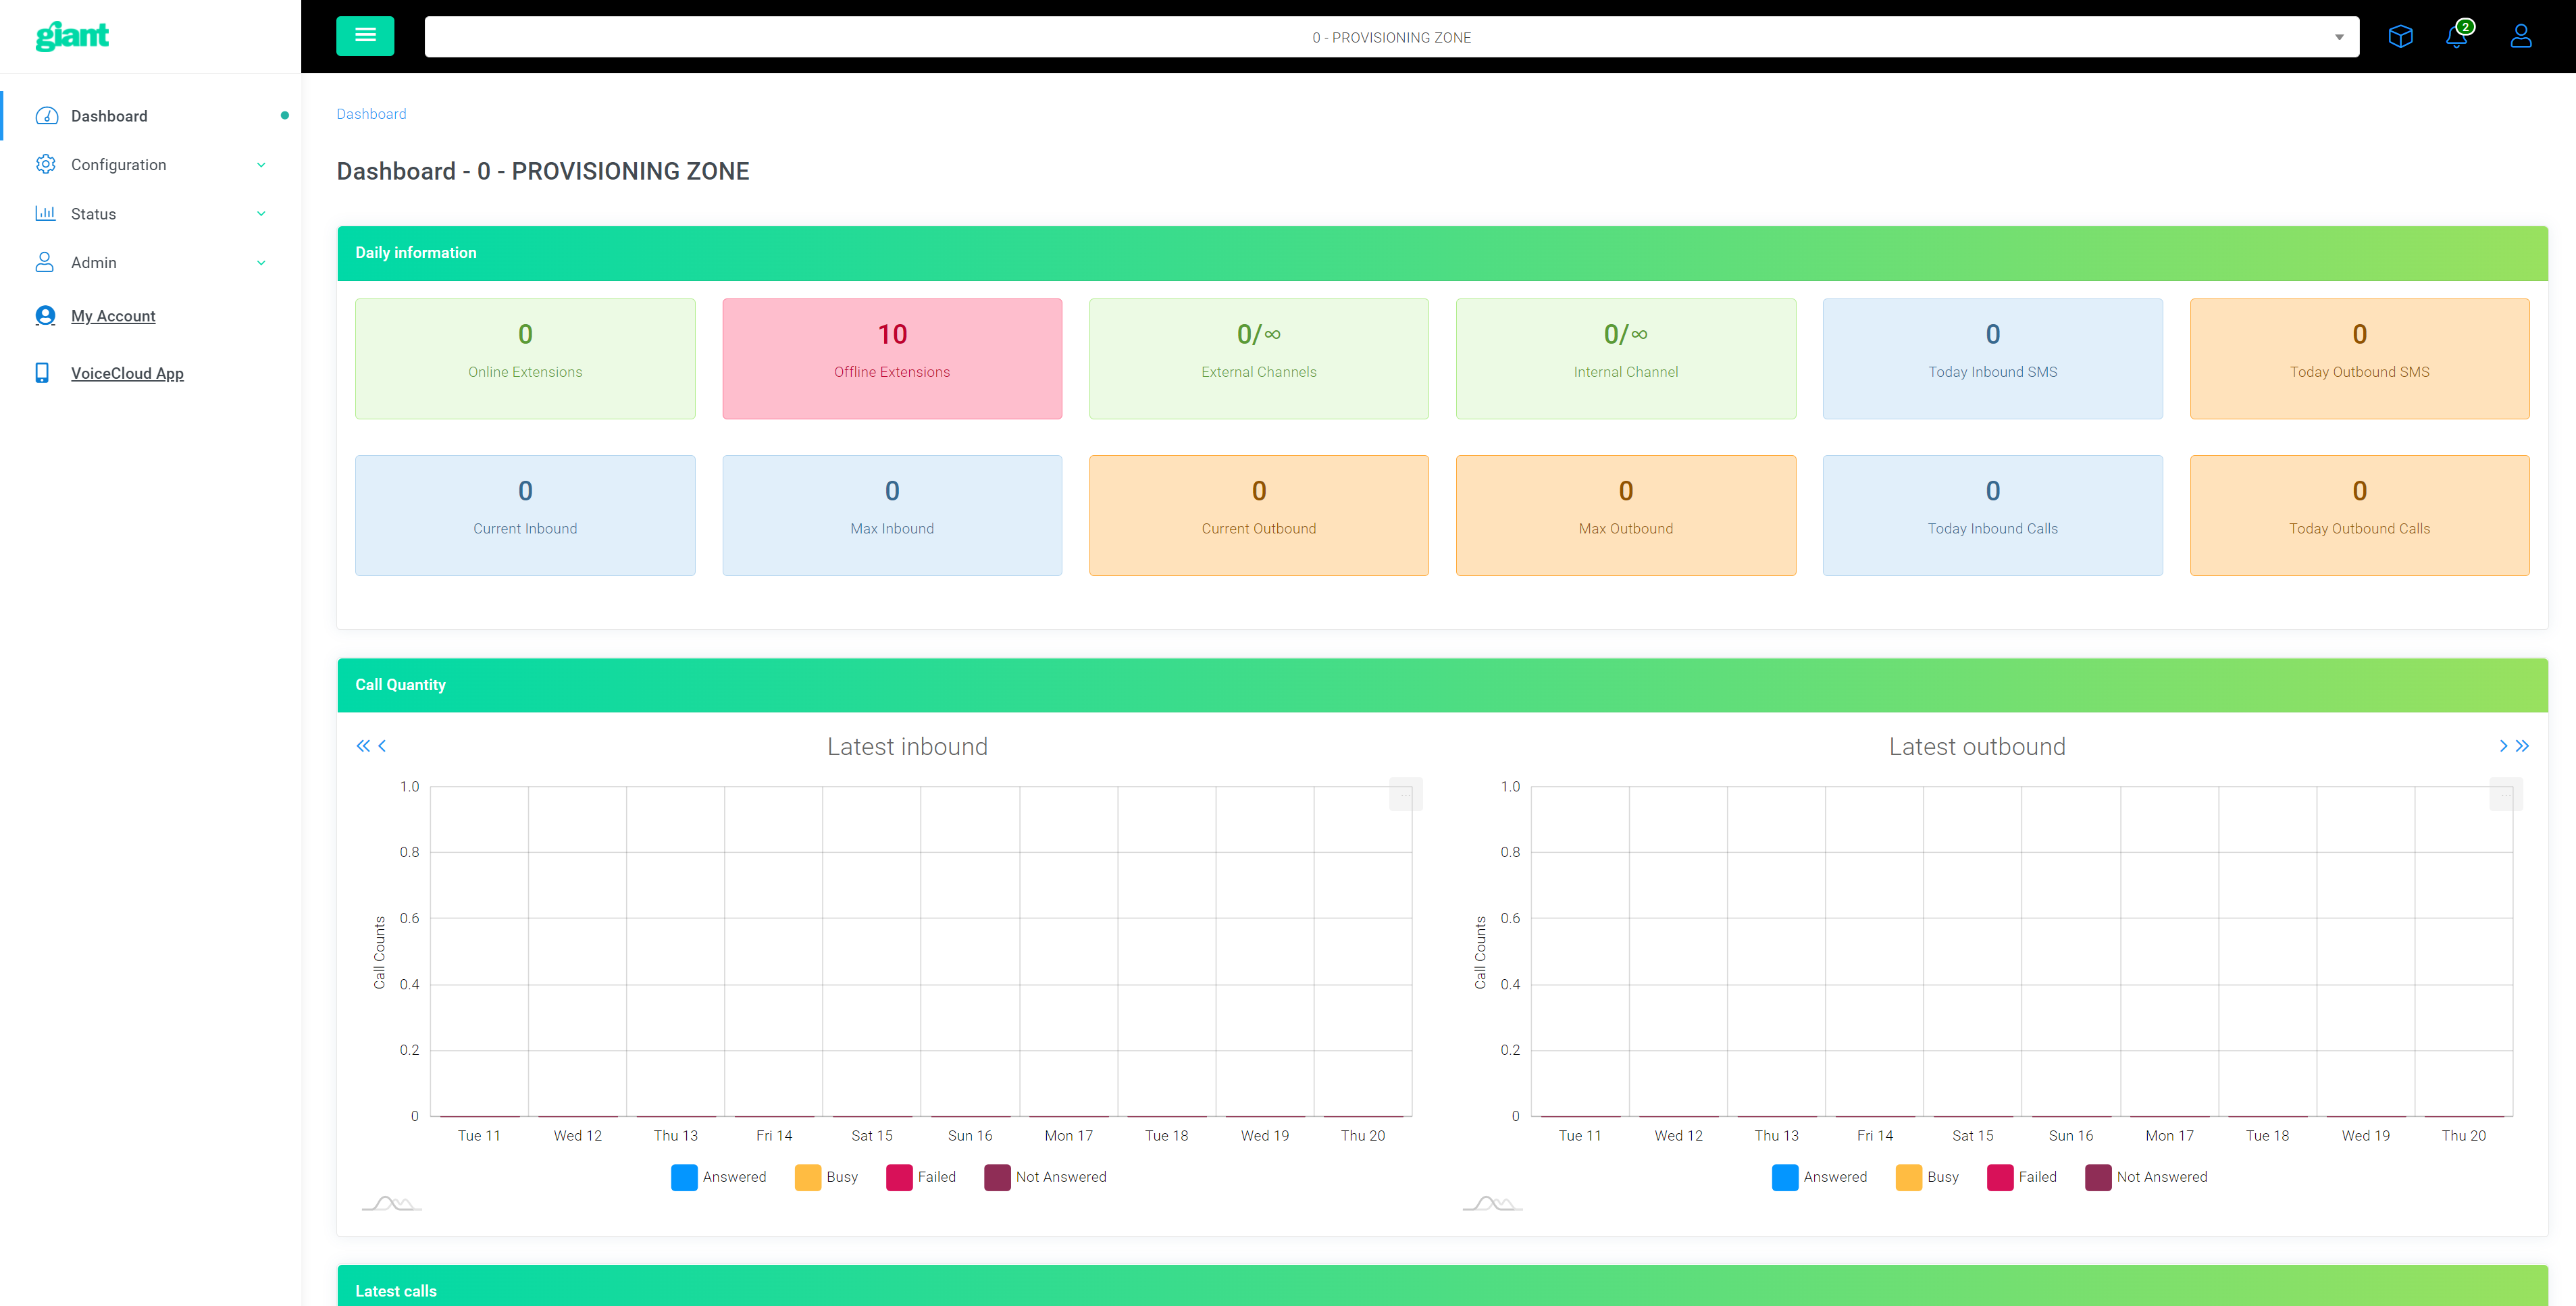
From your main PBX dashboard screen, navigate to Configuration > Provisioning > Phones.
Step 2:
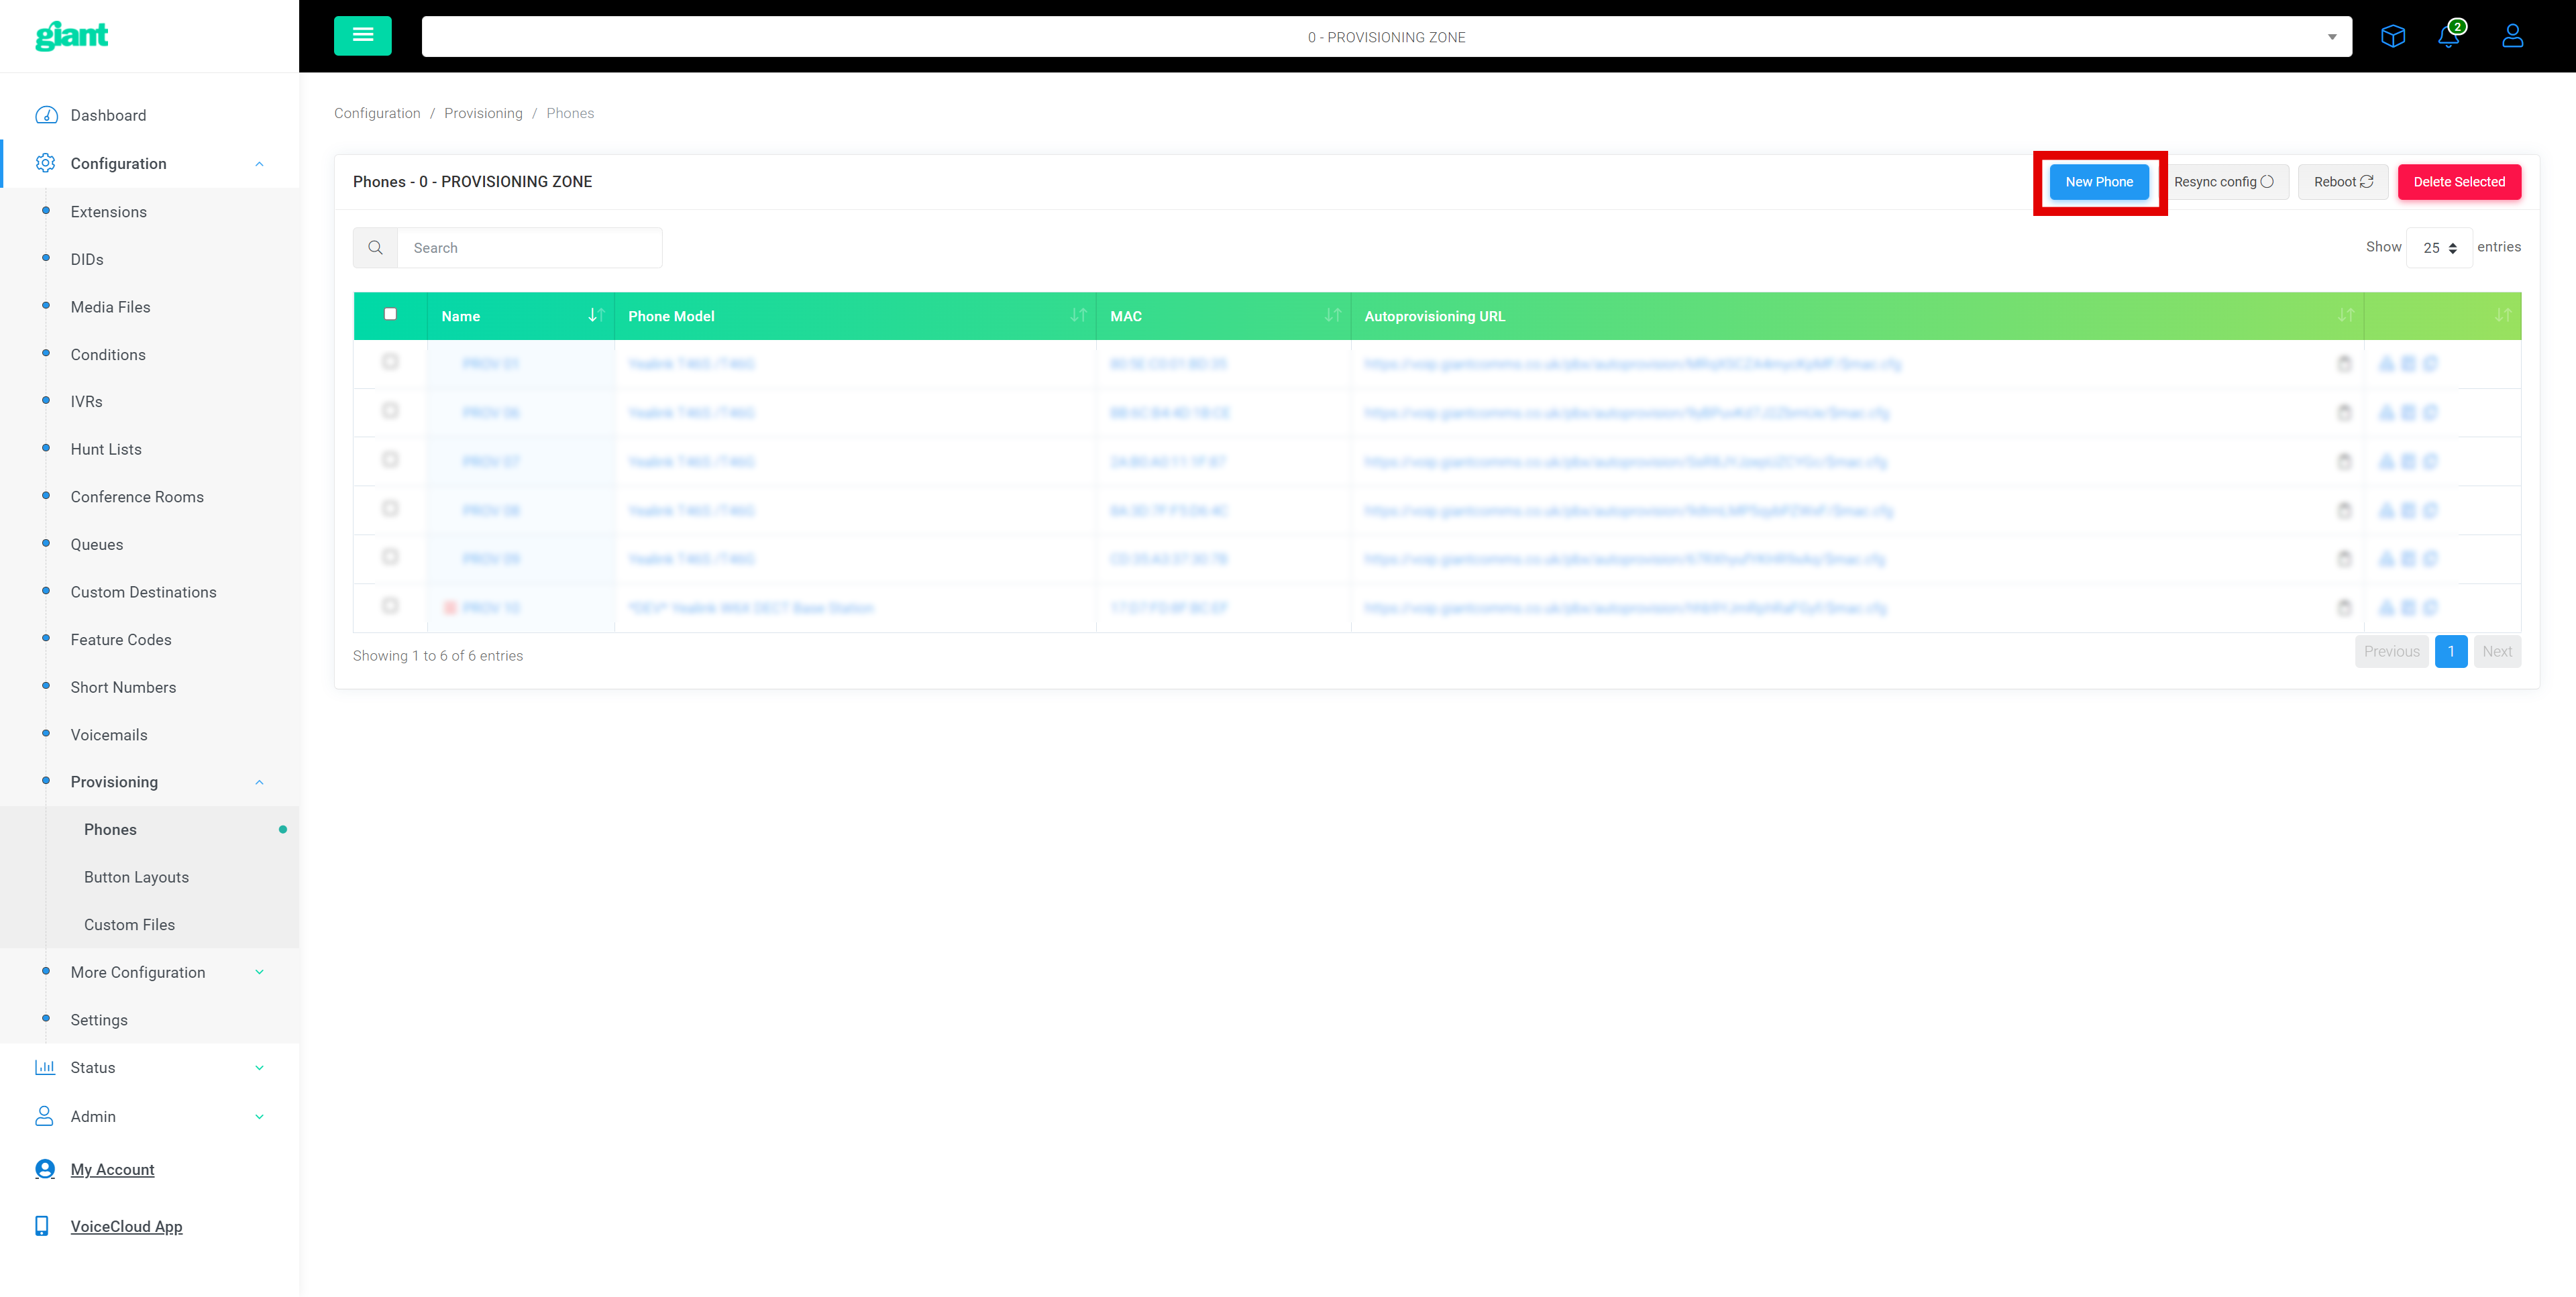
To create a new Zoiper phone autoprovision link, click 'New Phone' in the top right corner of the phones data table.
Step 3:
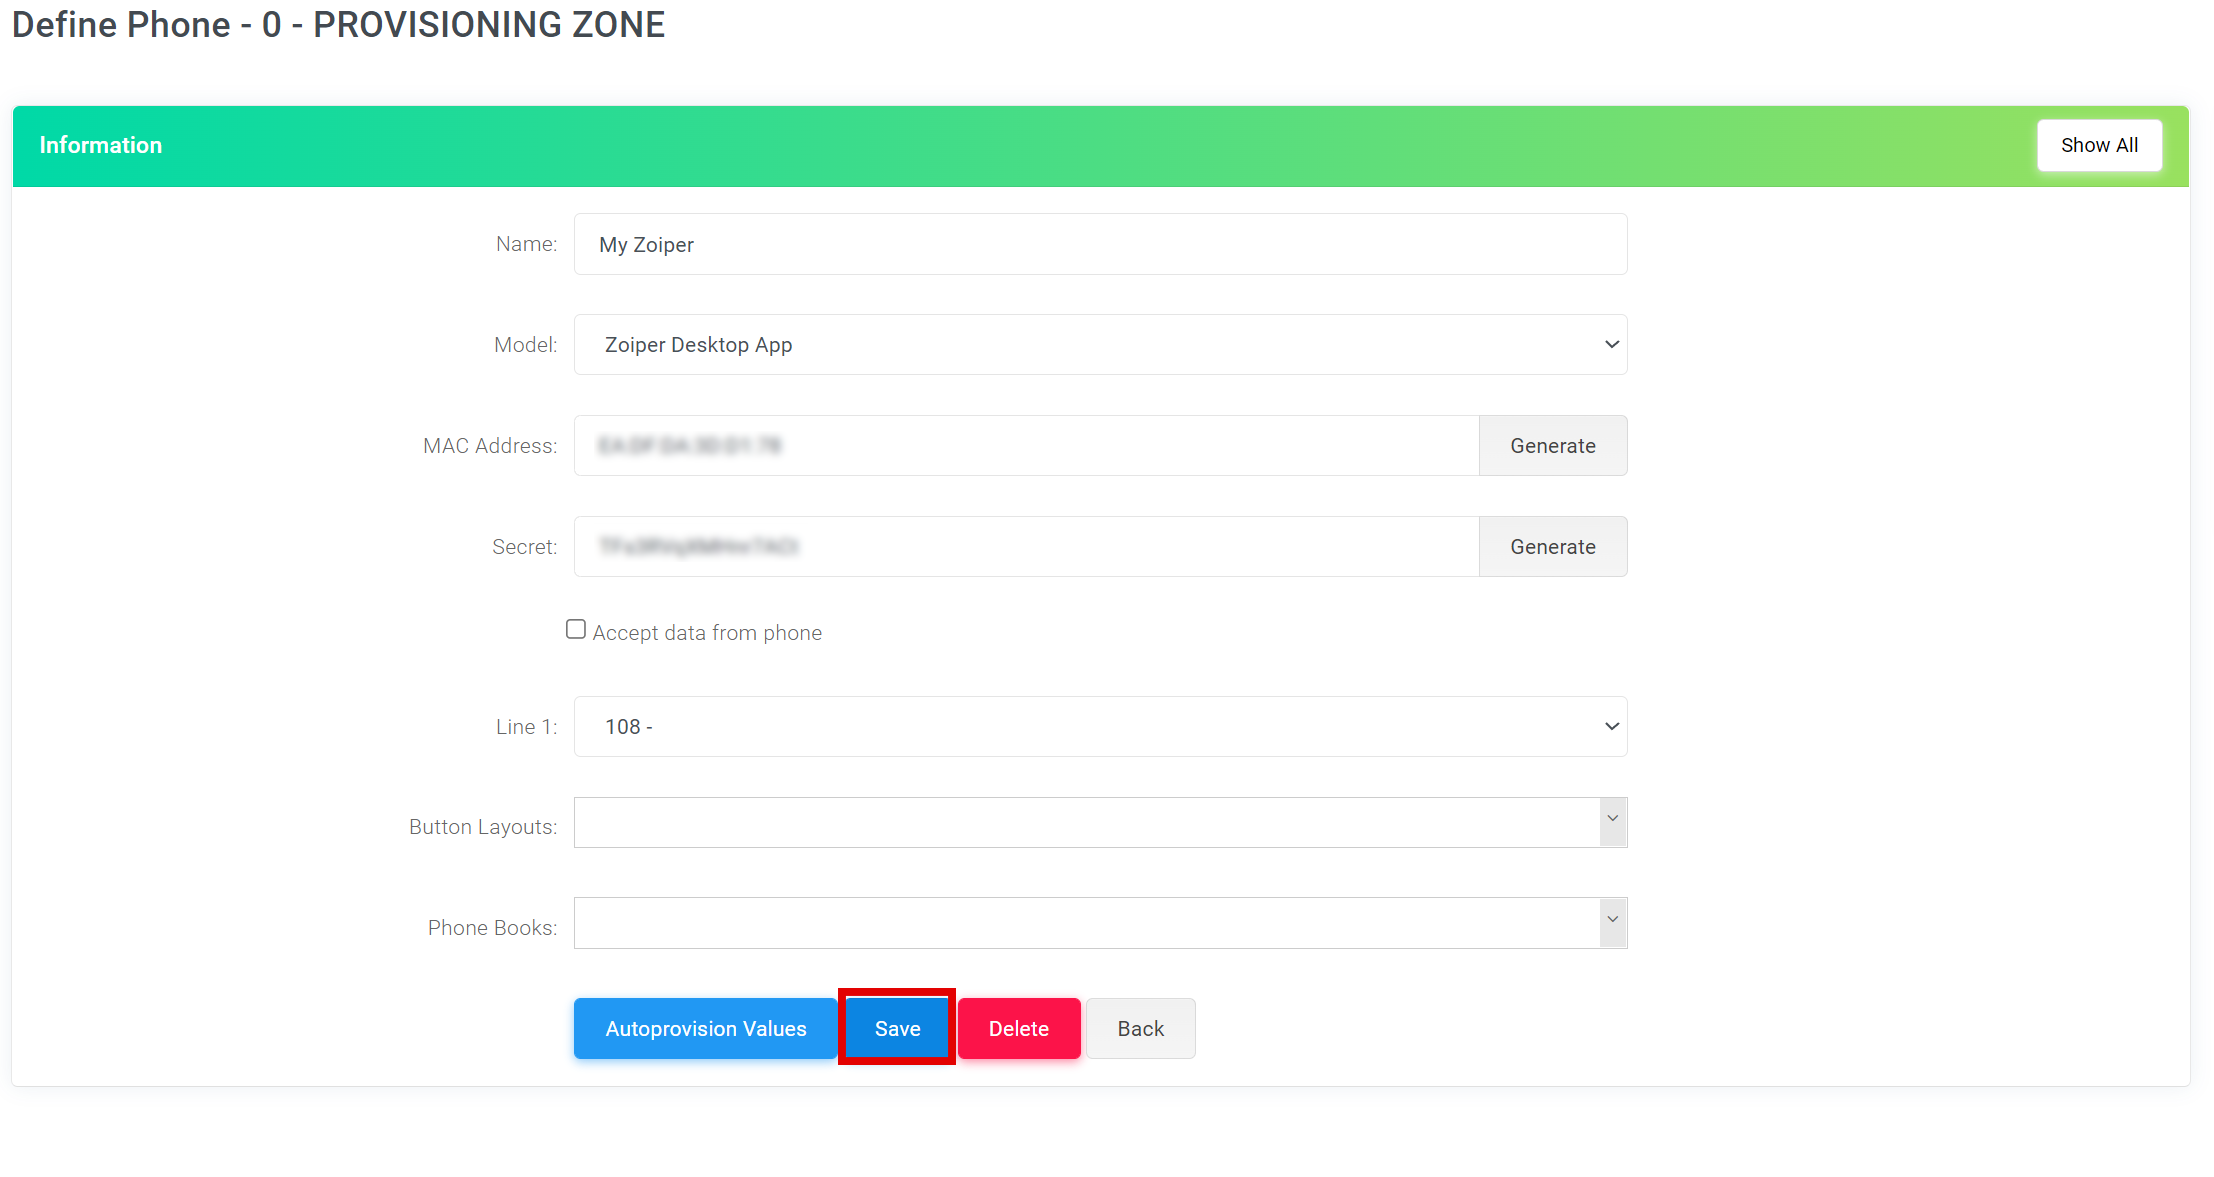
Next you will be presented with the new phone configuration screen, you are able to set up autoprovisioning files for different hardware and SIP clients, since we want to set up a Zoiper auto-install link, we will follow the steps below to do so.
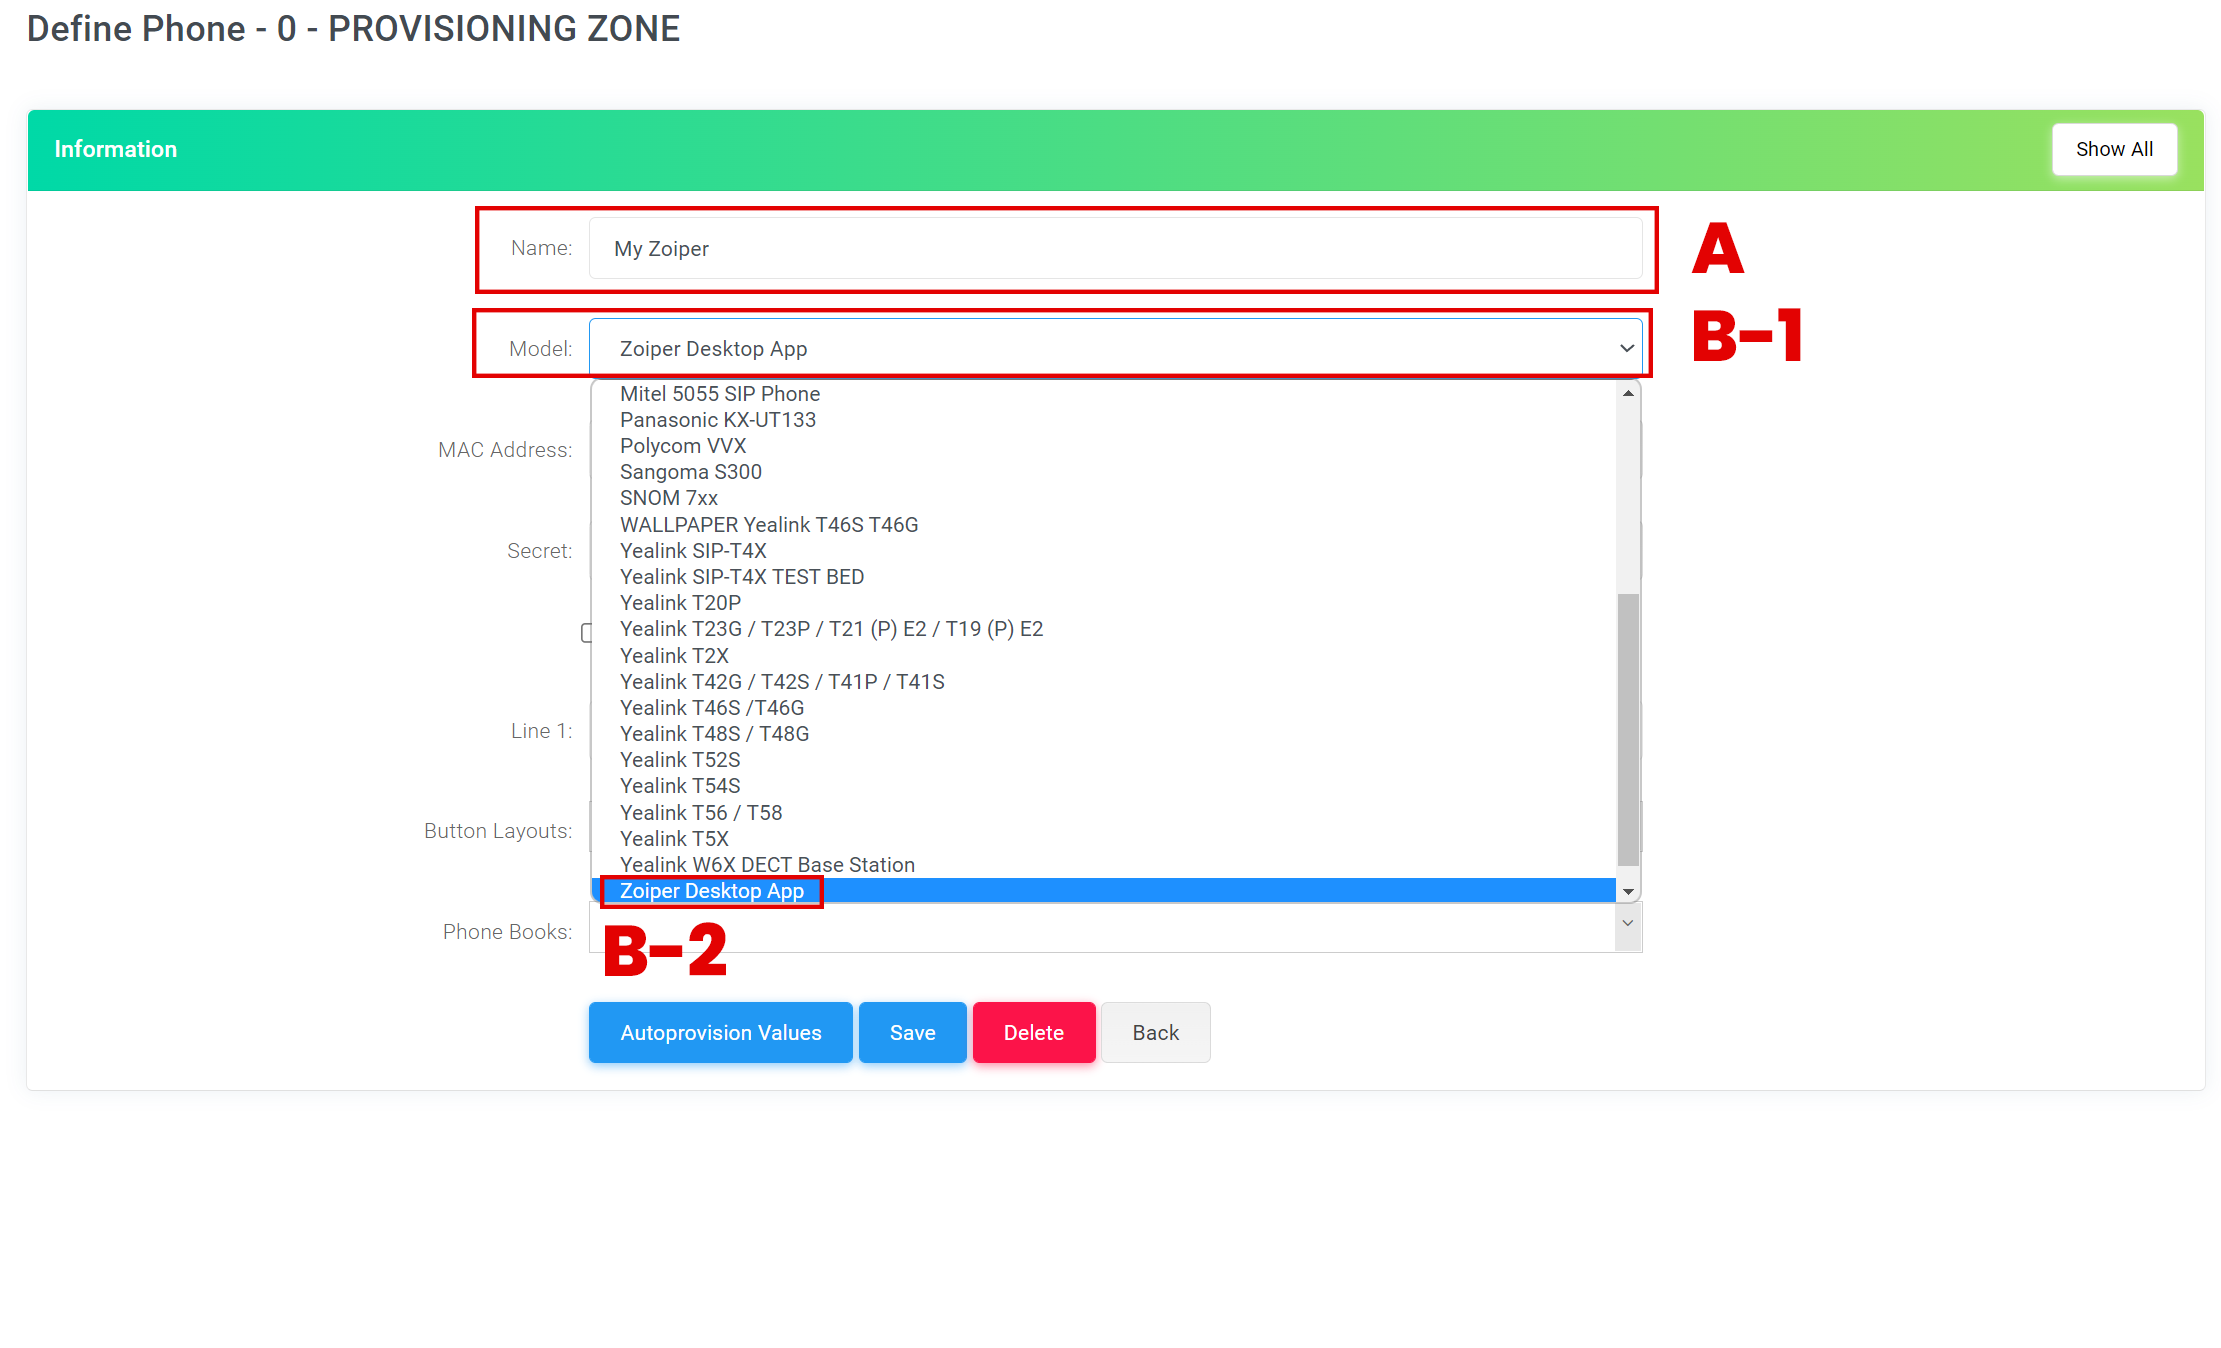
A: We can enter a name for this device to make things easier to troubleshoot, fault find this will define it in the 'phones' configuration page UI.
B-1: Clicking the dropdown named 'Model' we can choose from a range of pre-configured provisioning file templates, we will select 'Zoiper Desktop' here (Labelled 'B-2' in the above screenshot).
CRUCIAL: Lastly we need to click the 'Generate' button beside the 'MAC Address' field and assign a random MAC ADDRESS for this installation.
Step 4:
Next we need to select which 'Extension' is to be used for auto-registration this assigns the extension credentials to the Zoiper client automatically. We do this by clicking the 'Line 1' dropdown and confirming our selection.
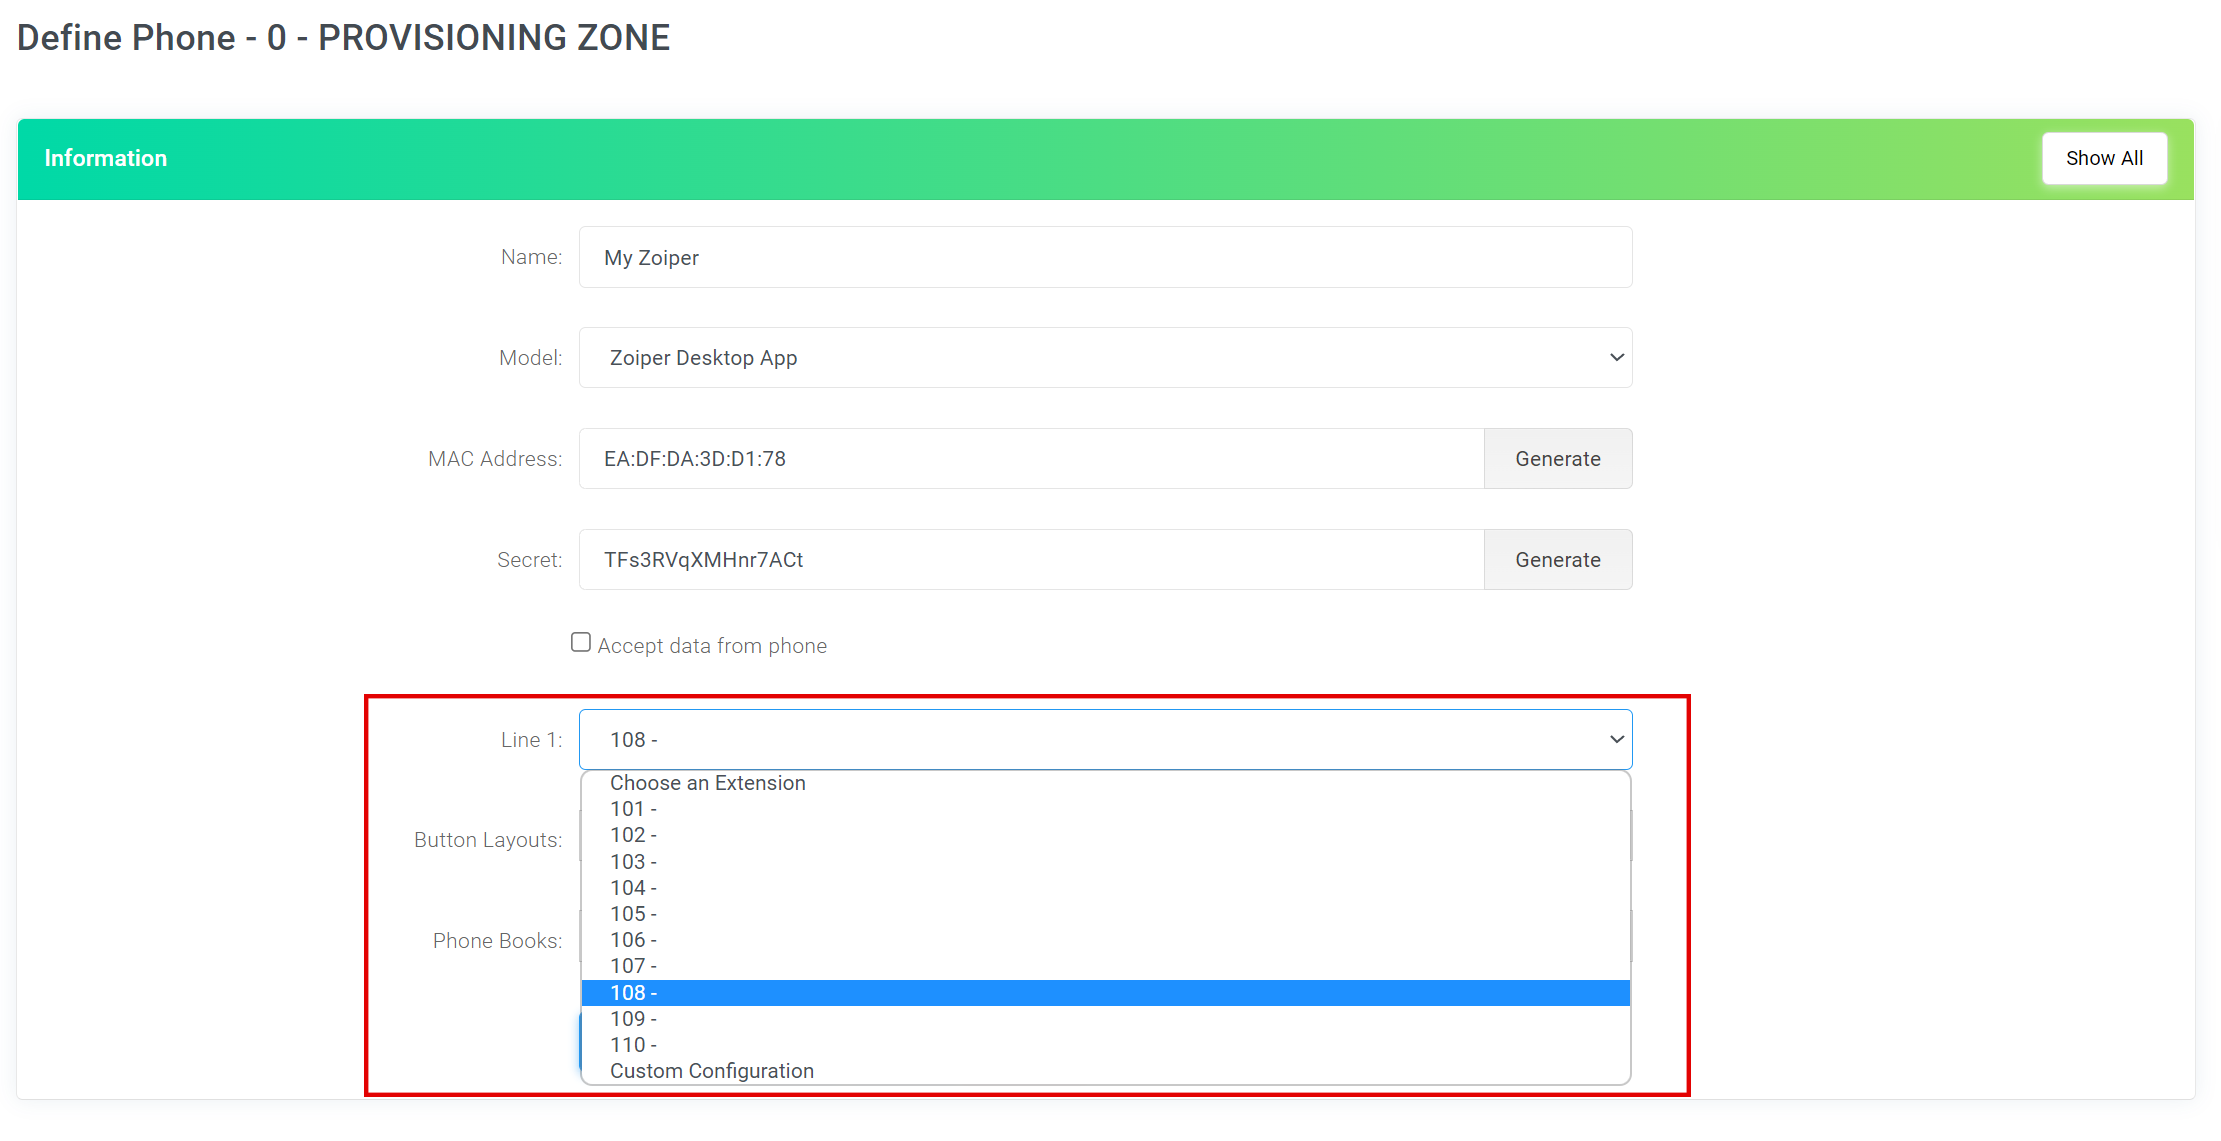
You can now Save your phone provisioning settings.
Step 5:
Now that you have successfully set up your Zoiper autoprovisioning link, you can simply click it within the 'Phones' data table to be automatically redirected to the unique Zoiper provisioning page.
Step 6:
When first landing on the Zoiper download and installation page, you will be asked which device operating system you are using for this installation, select the Operating system that is relevent to your device.
You can now proceed to the next half of this article.

Installation instructions
1. Run the Zoiper 2.0 Setup application
A window will open asking what you want to do with a file called ZoiperFreeInstaller.exe. Click 'Save File'.
2. Follow the Setup Wizard
When the download is done, click on the ZoiperFreeInstaller.exe file from the Mozilla Downloads window to open the Zoiper 2.0 Setup application.
(Alternatively, you could open it directly from the location you saved it which is typically your desktop.)
The Zoiper 2.0 Setup Wizard will appear and guide you through the rest of the installation.
3. Start Zoiper 2.0
After the installation has completed, you can open Zoiper 2.0 by clicking on the icon on your desktop or by click on the windows Start button -> All programs -> Attractel -> Zoiper -> Zoiper Free.
When zoiper is running an extra icon will be added to your tray icons, right clicking will provide you with some more options.
